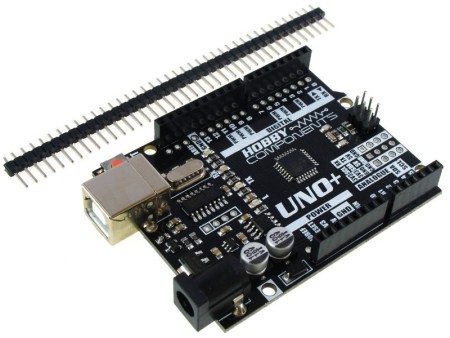
Hobby Components Uno Plus
This is our lower cost alternative to the standard R3 Uno, but in this case lower cost doesn't...
£6.99

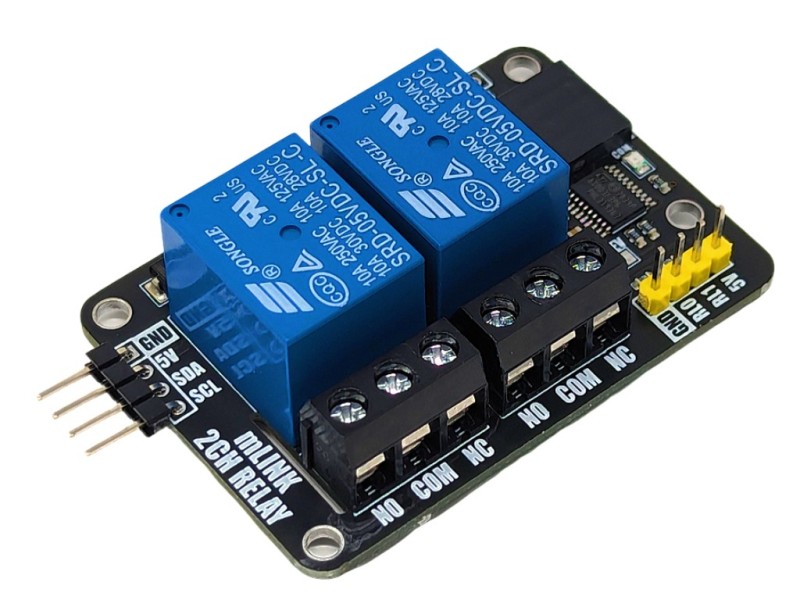


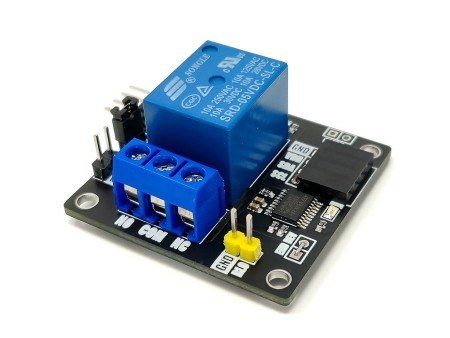
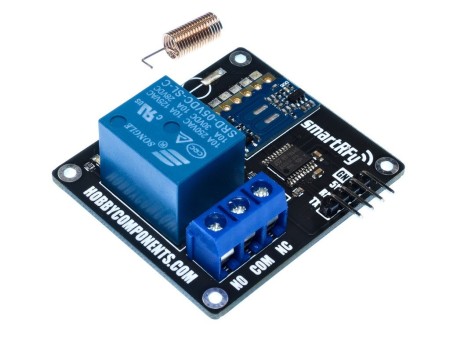
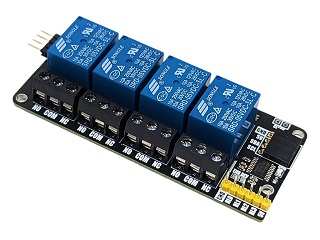
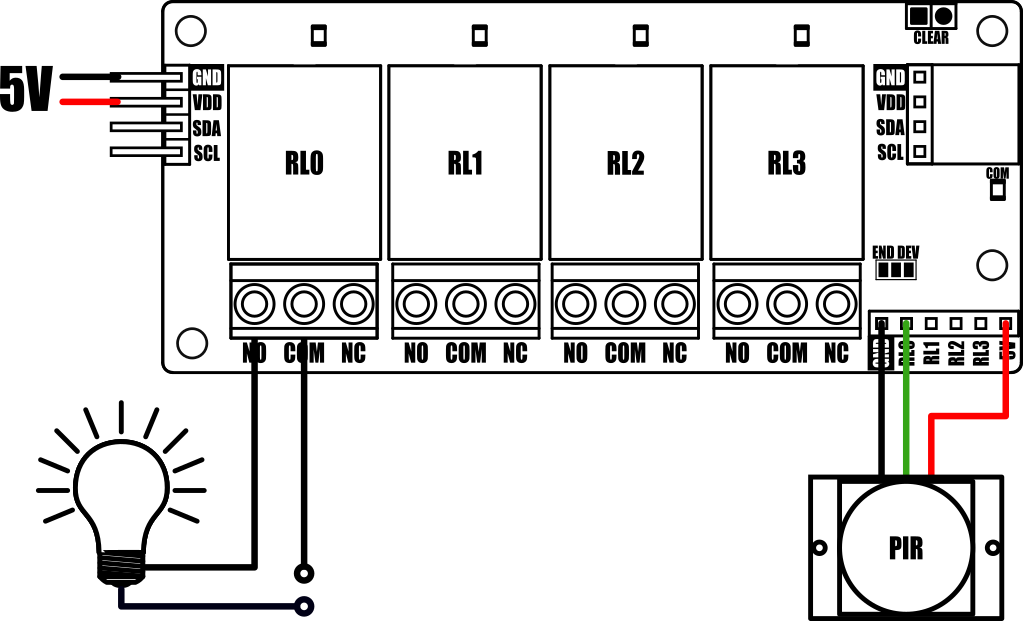
The mLink relay modules are a range of 5V relay modules that have been designed to be controlled either manually or via a microcontroller. For manual control there is a set of digital pin(s) that can be toggled to directly control the relay. For controlling via a microcontroller there is a serial I2C interface minimising the amount of pins required to control multiple relays or relay modules.
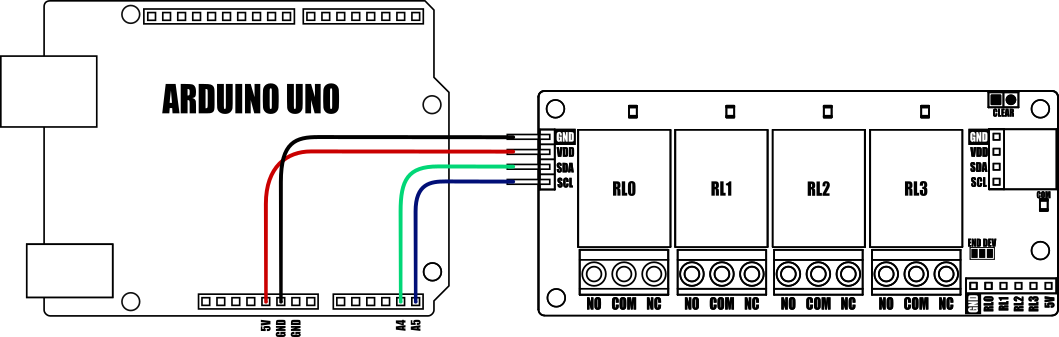
For Arduino users you can use the mLink library (see below) to control any type of mLink module. Only one single instance of the library is needed to control multiple types of mLink modules resulting in very little resources overhead and therefore making it great for Arduinos with small amounts of memory and pin counts.
The mLink relay modules are a range of 5V relay modules that have been designed to be controlled either manually or via a microcontroller. For manual control there is a set of digital pin(s) that can be toggled to directly control the relay. For controlling via a microcontroller there is a serial I2C interface minimising the amount of pins required to control multiple relays or relay modules.
For Arduino users you can use the mLink library (see below) to control any type of mLink module. Only one single instance of the library is needed to control multiple types of mLink modules resulting in very little resources overhead and therefore making it great for Arduinos with small amounts of memory and pin counts.
For Raspberry Pi users we have a Python module which can be installed via pip or downloaded and installed directly from our forum. Please see the mLink Python forum thread for requirements and download link here

Module specifications:
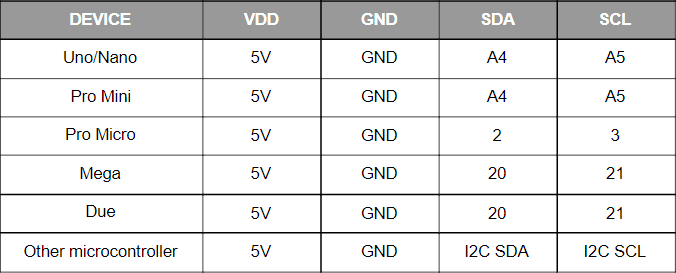
Module code: 							HCMODU0182 (1ch relay module)
									HCMODU0183 (2ch relay module)
									HCMODU0184 (4ch relay module)
Supply Voltage (VDD): 					4.5V to 5.5V
Current consumption (relay(s) off):			5.5mA
Current consumption (relay(s) on):			70mA (1ch), 125mA (2ch),  235mA (4ch)
Interfaces:							I2C, relay digital input(s), NO-COM-NC relay screw terminals.
I2C Interface speed: 						400kbits/s (fast mode)
I2C default address (HEX): 				0h52
Relay input (RL0 to RL3) low level voltage: 	0V to 1.5V
Relay input (RL0 to RL3) high level voltage: 	3.5V to 5V
Relay contact rating (resistive load): 			5A max at 28VDC or 240VAC
Maximum number of modules: 				5 with pullups fitted, 112 with pullups removed*
Module dimensions (inc headers):			48.5mm x 38mm x 19.2mm (1ch relay module)
									63.5mm x 38mm x 19.2mm (2ch relay module)
									96.5mm x 38mm x 19.2mm (4ch relay module)

Arduino Toggle Relay Example:
The following example will toggle (blink) relay 0 on and off every 10 seconds. If your module has more than one relay you can use SET_RLY1 for relay 1, SET_RLY2 for relay 2, or SET_RLY3 for relay 3 instead.

For more information including documentation and the mLink library please visit this products forum page here:
https://forum.hobbycomponents.com/viewtopic.php?f=131&t=3003
This is our lower cost alternative to the standard R3 Uno, but in this case lower cost doesn't...
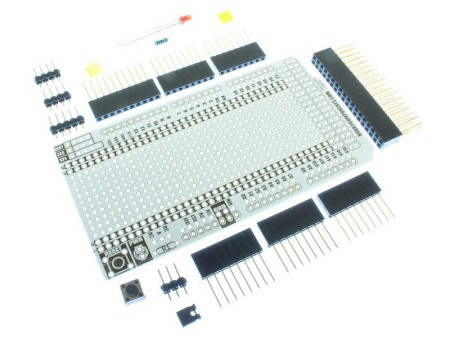
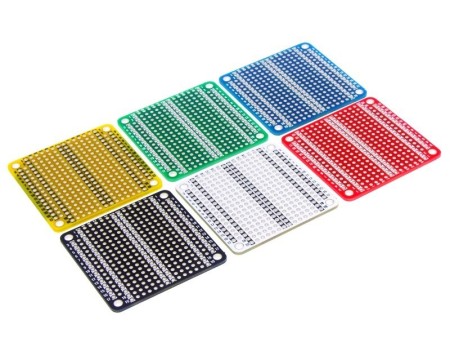
The Hobby Components prototyping shield for the Arduino Mega allows you to add your own custom...
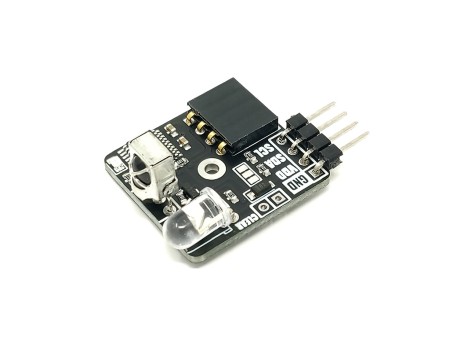
The mLink Character LCD series consists of serial (I2C/IIC) displays available in two sizes:...
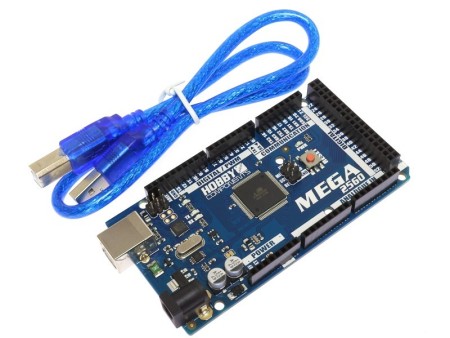
Our very own version of the popular Arduino Mega development board (HCARDU0092). It hast been...
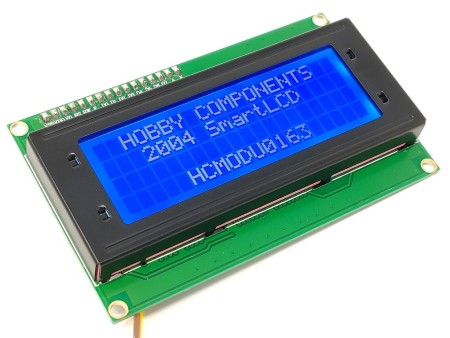
The 2004 SmartLCD module is a serially controlled 4 line by 20 character alphanumeric LCD...
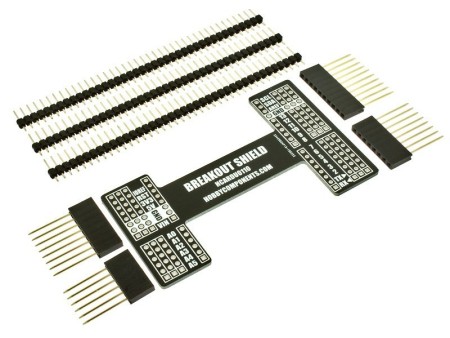
The Hobby Components breakout shield is a quick and low cost way to add extra pin access to...

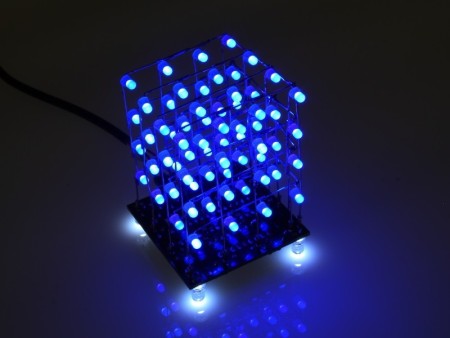
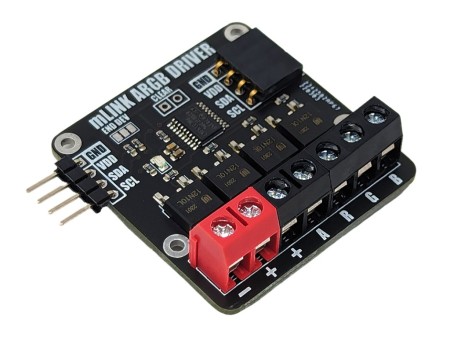
The mLink WS2812 LED driver is a serial (I2C) module intended for driving WS2812 5V RGB LEDs....
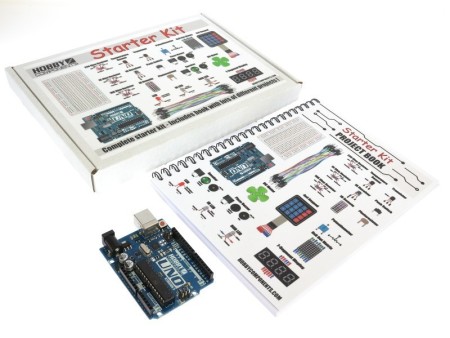
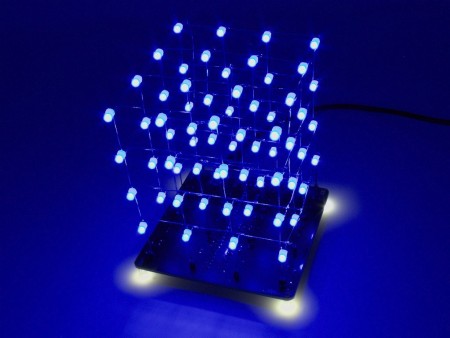
PLEASE NOTE THAT THIS KIT IS NOW SHIPPED WITH OUR UNO+ Development Board (See SKU:...
The mLink relay modules are a range of 5V relay modules that have been designed to be controlled either manually or via a microcontroller. For manual control there is a set of digital pin(s) that can be toggled to directly control the relay. For controlling via a microcontroller there is a serial I2C interface minimising the amount of pins required to control multiple relays or relay modules.
For Arduino users you can use the mLink library (see below) to control any type of mLink module. Only one single instance of the library is needed to control multiple types of mLink modules resulting in very little resources overhead and therefore making it great for Arduinos with small amounts of memory and pin counts.